Difference between revisions of "Tutorial/Blender to CAD"
Toshibarve (talk | contribs) |
m (Reverted edits by 5.135.165.126 (talk) to last revision by Toshibarve) |
||
| (9 intermediate revisions by 2 users not shown) | |||
| Line 1: | Line 1: | ||
| − | 1. Open Blender <br> [[Image: | + | 1. Open Blender <br> [[Image:Blender Step 1.jpg|center|thumb|1000px|Blender Startup Screen]] |
2.Use the scale manipulator to flatten and expand the cube so it looks like a tabletop. <br> [[Image:Blender Step 2.jpg|center|thumb|1000px|Tabletop]] | 2.Use the scale manipulator to flatten and expand the cube so it looks like a tabletop. <br> [[Image:Blender Step 2.jpg|center|thumb|1000px|Tabletop]] | ||
| Line 19: | Line 19: | ||
10.Go to the BRL-CAD bin directory and give the command to turn you obj file into a .g file. This command exports the obj-formatted file to a .g file. The syntax of the obj-g command is | 10.Go to the BRL-CAD bin directory and give the command to turn you obj file into a .g file. This command exports the obj-formatted file to a .g file. The syntax of the obj-g command is | ||
| − | >obj-g input.obj output.g | + | >obj-g input.obj output.g |
| − | + | Don’t forget to enter a path for your files. To see all the uses of the obj-g command just enter “obj-g.” | |
11.Open mged. You will see two windows, a command window that is white and a graphics window that is black. <br> | 11.Open mged. You will see two windows, a command window that is white and a graphics window that is black. <br> | ||
| Line 27: | Line 27: | ||
{| border="0" | {| border="0" | ||
|- | |- | ||
| − | |[[Image:MGED 7.22 Step 11.jpg|center|thumb|500px|Command Window]]||[[Image:MGED 7.22 Graphics Step 11.jpg|center|thumb| | + | |[[Image:MGED 7.22 Step 11.jpg|center|thumb|500px|Command Window]]||[[Image:MGED 7.22 Graphics Step 11.jpg|center|thumb|550px|Graphics Window]] |
|} | |} | ||
12.Select File and click open. Open you .g file that you just made. <br> [[Image:MGED 7.22.0 Command Window Step 12.jpg|center|thumb|1000px|Open .g File]] | 12.Select File and click open. Open you .g file that you just made. <br> [[Image:MGED 7.22.0 Command Window Step 12.jpg|center|thumb|1000px|Open .g File]] | ||
| − | 13.Then click on Tools. Open Geometry Browser under tools. Double click on the top object to display it | + | 13.Then click on Tools. Open Geometry Browser under tools. Double click on the top object to display it. <br> [[Image:MGED 7.22.0 Command Window Step 13.jpg|center|thumb|1000px|Click on Tools]]<br><br> [[Image:Geometry Browser Step 13.jpg|center|thumb|1000px|Geometry Browser]] |
14.Click on View. Select “az35,el25” <br> [[Image:MGED 7.22.0 Command Window Step 14.jpg|center|thumb|1000px|Change view]] | 14.Click on View. Select “az35,el25” <br> [[Image:MGED 7.22.0 Command Window Step 14.jpg|center|thumb|1000px|Change view]] | ||
| Line 41: | Line 41: | ||
| − | sed default.1.1.b.c.s <br> | + | sed default.1.1.b.c.s <br> |
{| border="0" | {| border="0" | ||
|- | |- | ||
| − | |[[Image:MGED_7.22_Step_16_-1.jpg|center|thumb| | + | |[[Image:MGED_7.22_Step_16_-1.jpg|center|thumb|800px|Command Window First command]]||[[Image:Fullscreen_capture_Step_16_-1.jpg|center|thumb|575px|Graphics Window First command]] |
|} | |} | ||
| − | rot –90 0 0 <br> | + | rot –90 0 0 <br> |
{| border="0" | {| border="0" | ||
|- | |- | ||
| − | |[[Image:Fullscreen_capture_Step_16_-2.jpg|center|thumb| | + | |[[Image:Fullscreen_capture_Step_16_-2.jpg|center|thumb|800px|Commands Window Second Command]]||[[Image:Fullscreen_capture_Step_16_-2_-2.jpg|center|thumb|450px|Graphics Window Seccond command]] |
|} | |} | ||
| − | accept <br> | + | accept <br> |
{| border="0" | {| border="0" | ||
|- | |- | ||
| − | |[[Image:Fullscreen_capture_Step_16_-3.jpg|center|thumb| | + | |[[Image:Fullscreen_capture_Step_16_-3.jpg|center|thumb|800px|Commands Window Third Command]]||[[Image:MGED_7.22_Step_16_-3.jpg|center|thumb|450px|Graphics Window Third command]] |
|} | |} | ||
| Line 63: | Line 63: | ||
| − | With that final rendering your import is complete! <br>[[Image:MGED_7.22.0_Graphics_Window_Step_16_-5.jpg|center|thumb| | + | With that final rendering your import is complete! <br>[[Image:MGED_7.22.0_Graphics_Window_Step_16_-5.jpg|center|thumb|500px|Complete]] |
| + | |||
| + | |||
| + | [[Image:Xyz.jpg|center|thumb|500px|BRL-CAD, like most of the CAD industry, uses +Z for up. Blender, like most of the film industry, uses +Y for up. Using +Y for up has origins in the film industry where the image screen is the center of attention, X and Y form a view plane and Z is the depth or distance from the camera. Using +Z for up has origins in manufacturing and architecture where the object and scene are the center of attention, X and Y form a horizontal ground plane, and thus Z becomes the elevation or height dimension.]] | ||
Latest revision as of 15:07, 6 May 2013
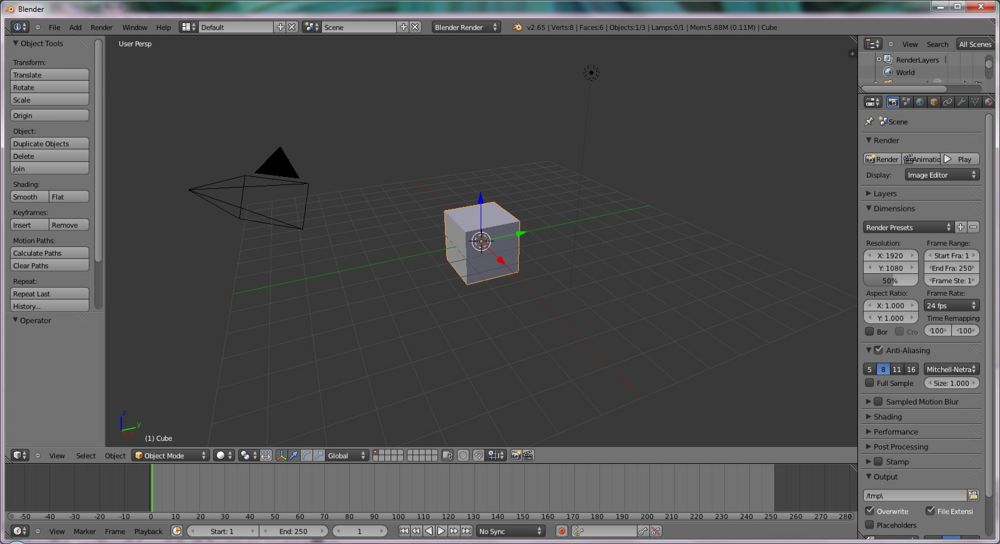
1. Open Blender
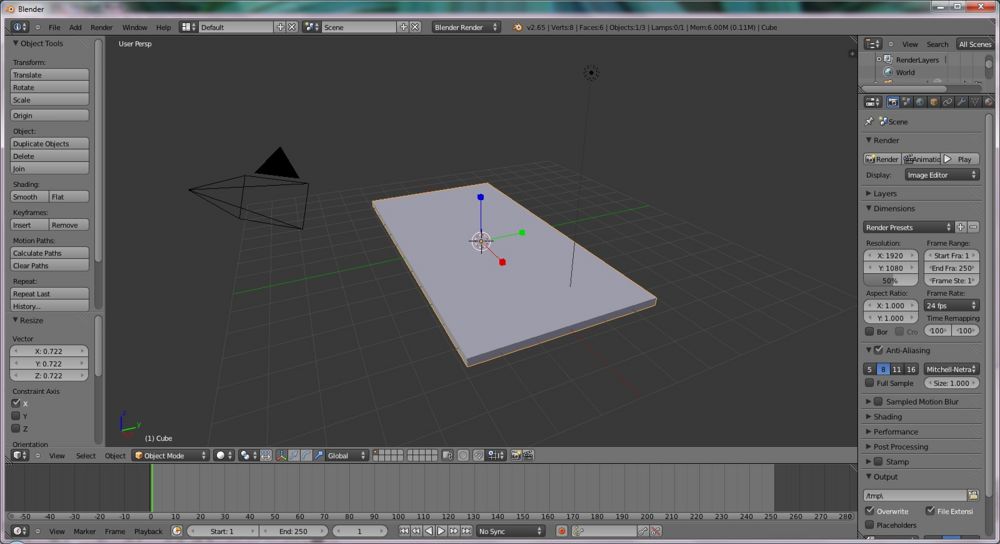
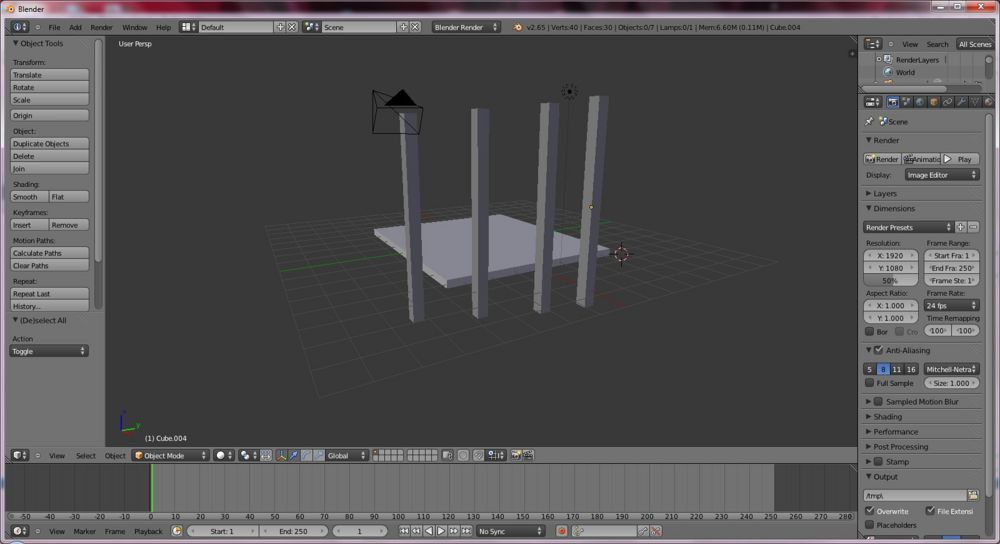
2.Use the scale manipulator to flatten and expand the cube so it looks like a tabletop.
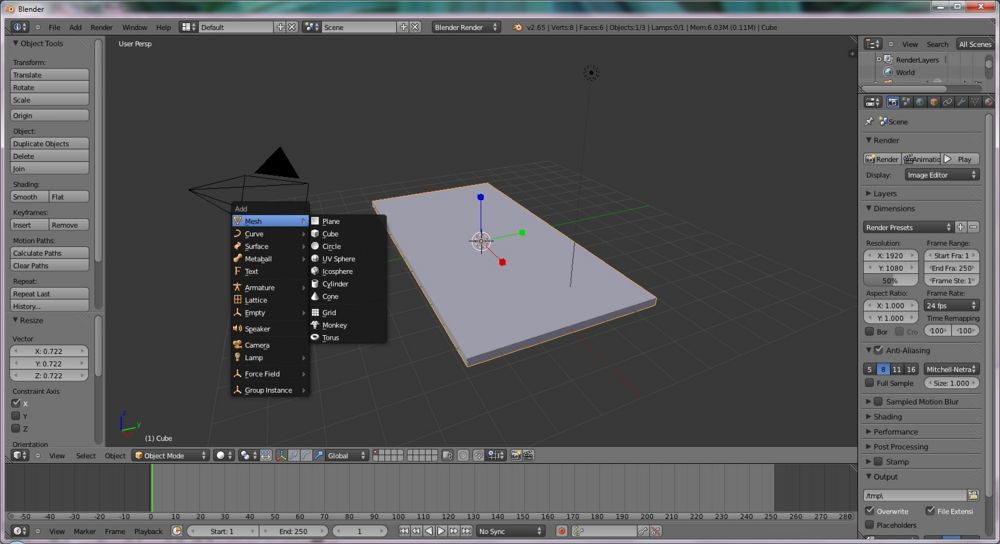
3.Go to the Add menu or use the shortcut Shift+A. Add a cube.
4.Use the scale manipulator to expand and flatten this cube so it looks like a table leg. Then duplicate this table leg 3 times.
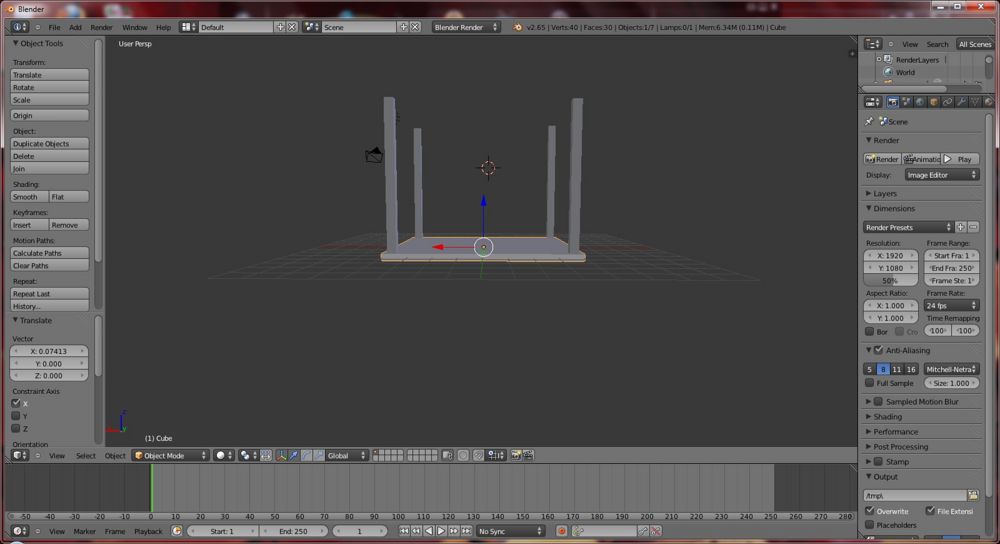
5.Move the legs of the table so it represents a table.
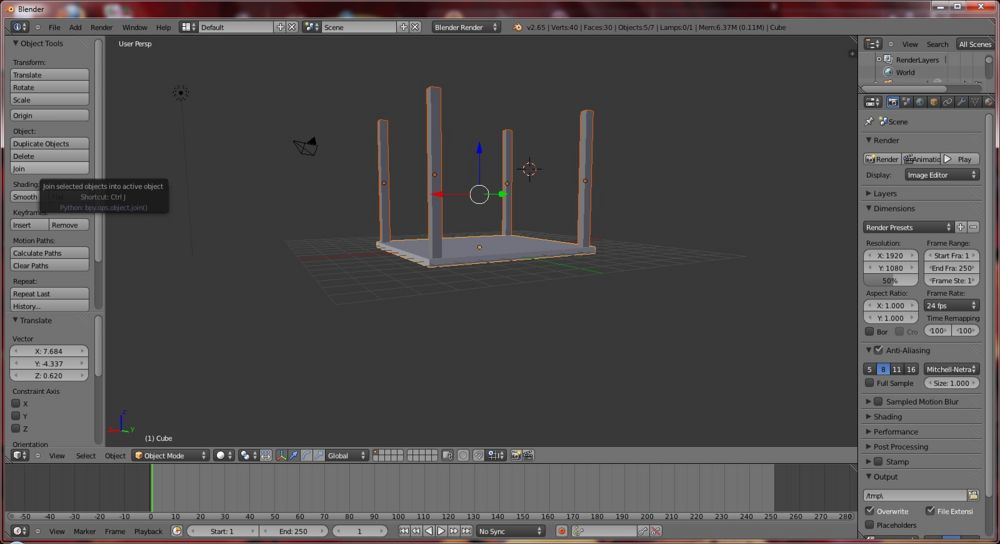
6.Select all the legs and the tabletop, and then click joins on the left side of the window under Object.
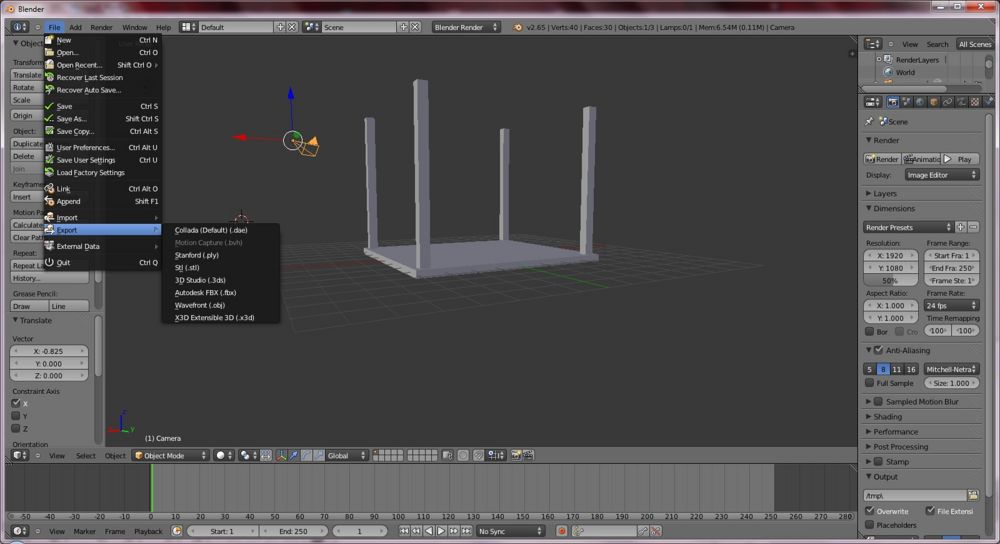
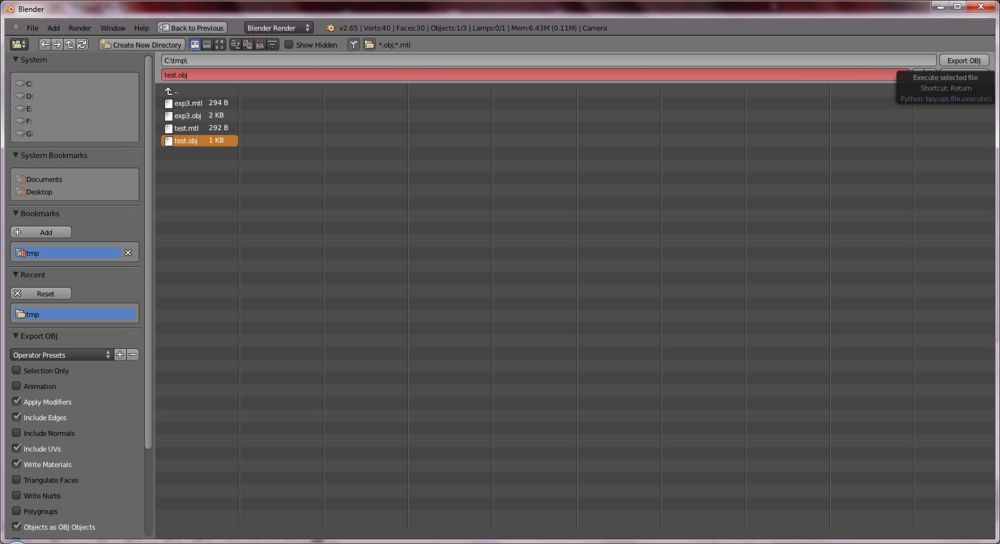
7.Go to File on the top left corner and select export. Under the export select obj.
8.You will get an export window. Name your file test (optional).
9.Once you have named your file click on the Export OBJ button, which can be found in the top right corner, to export your blender file.
10.Go to the BRL-CAD bin directory and give the command to turn you obj file into a .g file. This command exports the obj-formatted file to a .g file. The syntax of the obj-g command is
>obj-g input.obj output.g
Don’t forget to enter a path for your files. To see all the uses of the obj-g command just enter “obj-g.”
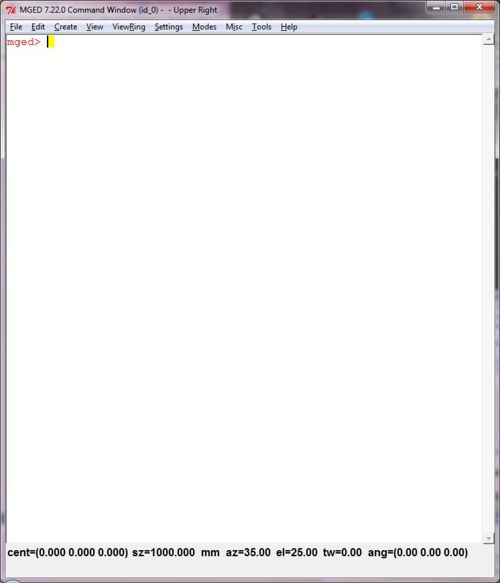
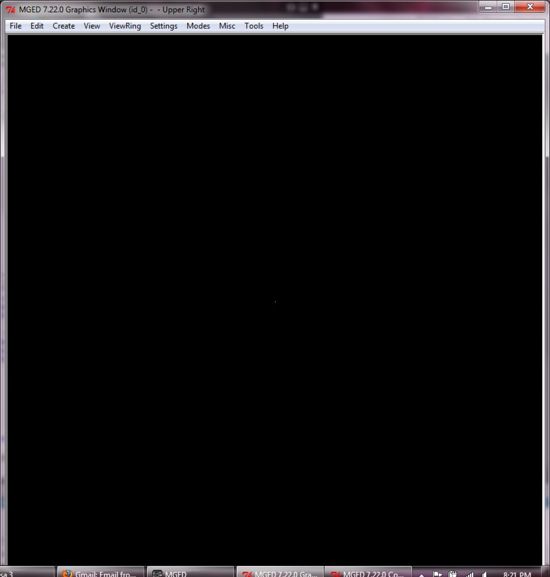
11.Open mged. You will see two windows, a command window that is white and a graphics window that is black.
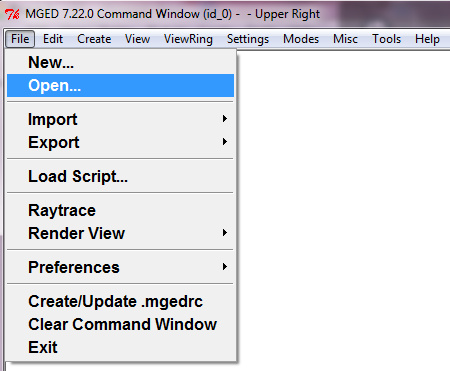
12.Select File and click open. Open you .g file that you just made.
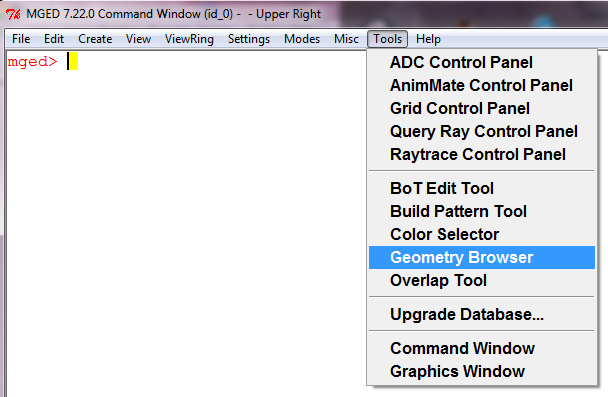
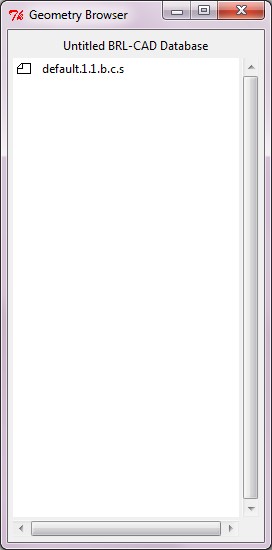
13.Then click on Tools. Open Geometry Browser under tools. Double click on the top object to display it.
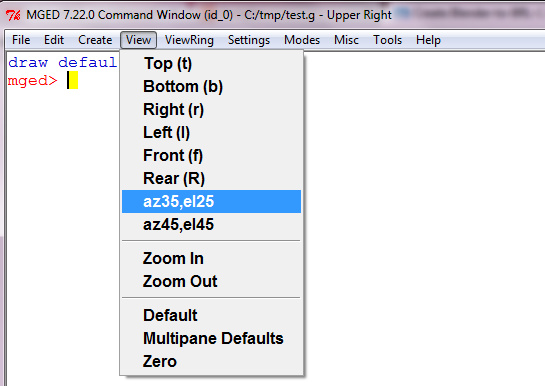
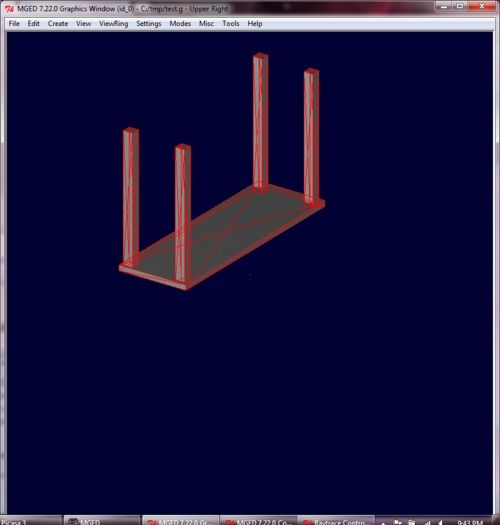
14.Click on View. Select “az35,el25”
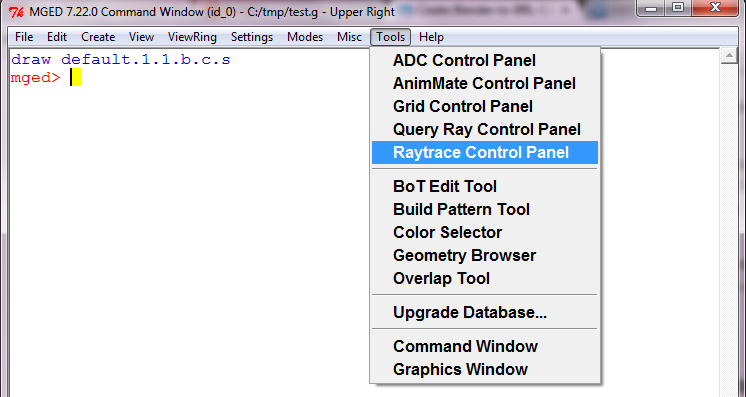
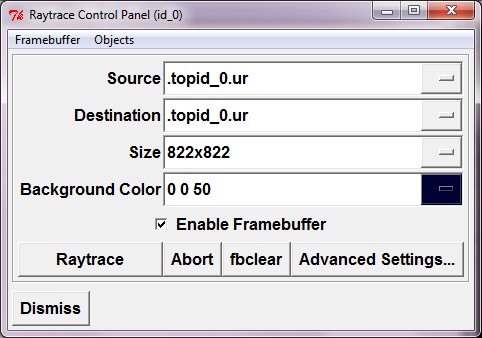
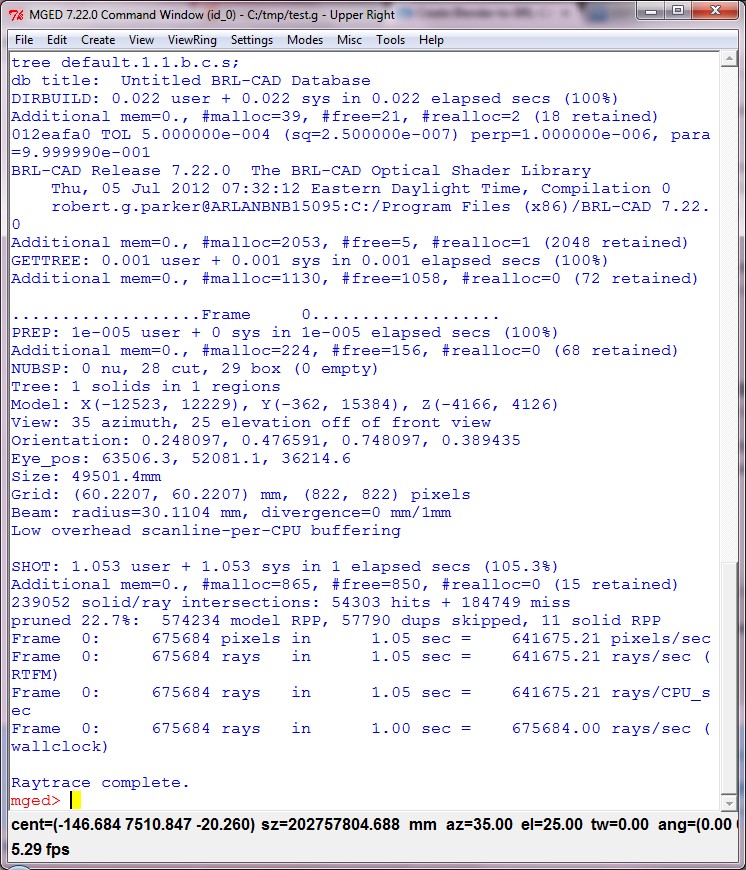
15.Click on Tools once again. Select the Raytrace Control Panel. Hit the raytrace button.
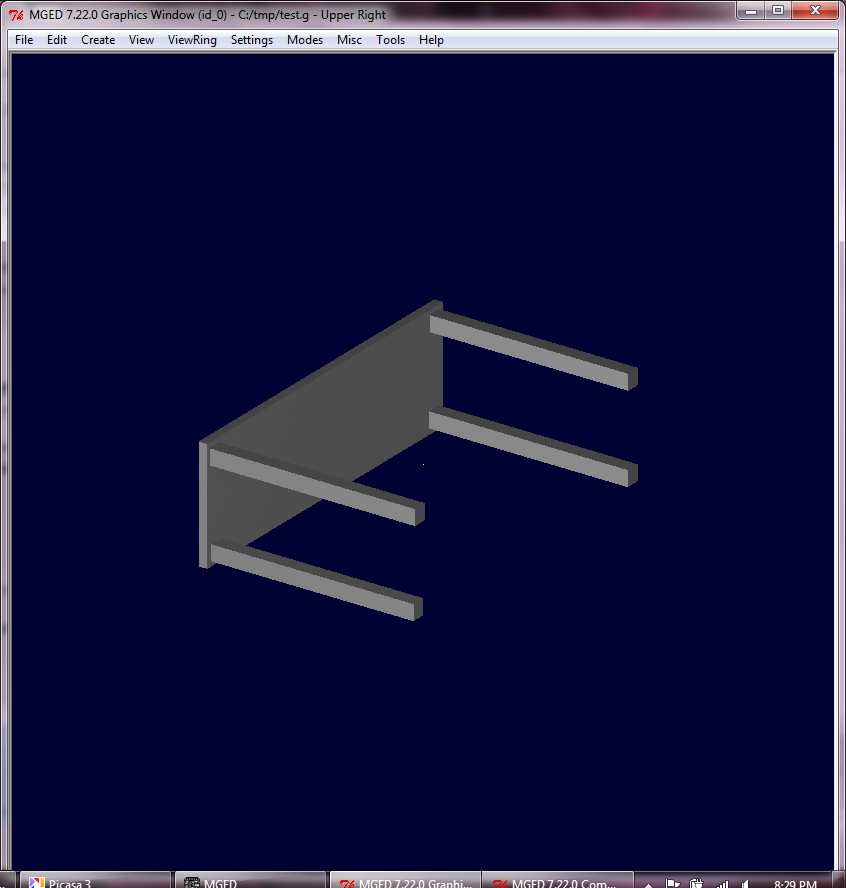
Once you have Raytraced, you should have an image the looks like this:
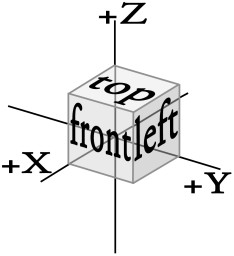
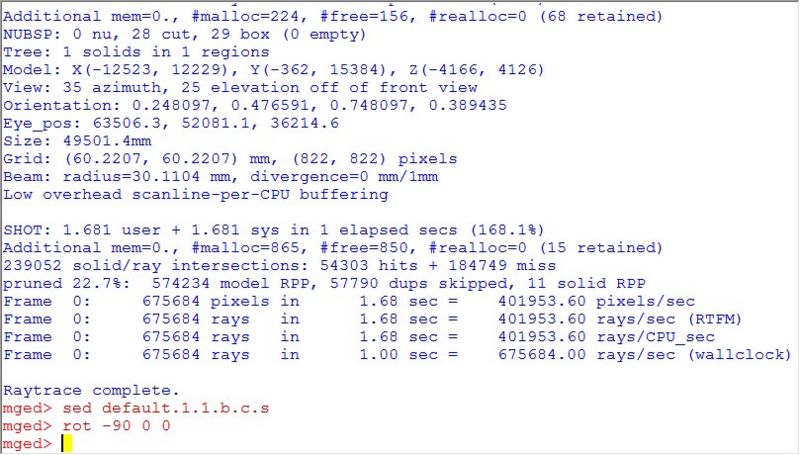
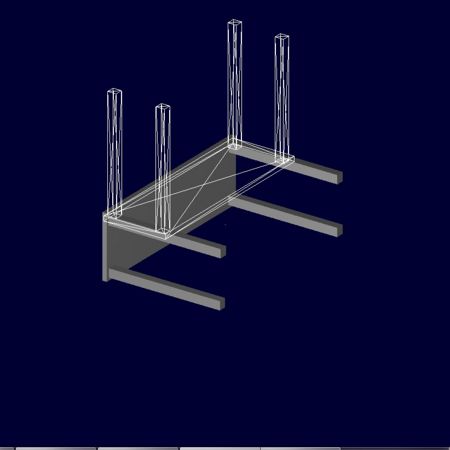
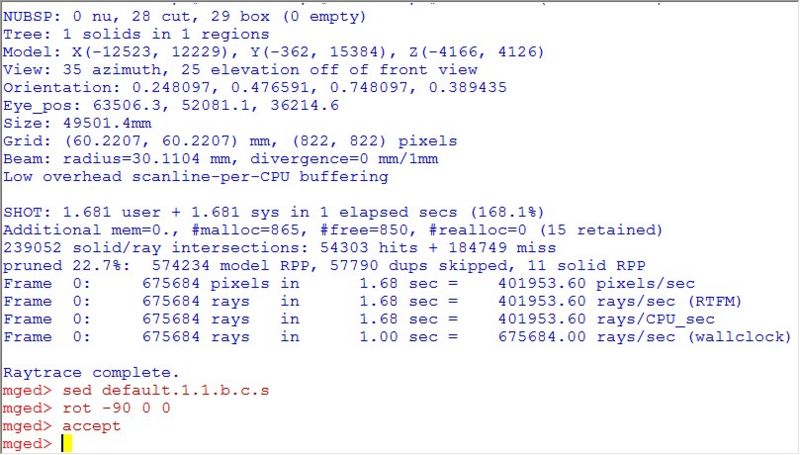
16.Do you remember what the table looked like when we were done with it in Blender? It was upside down and now it’s on its side. Rotating the table reorients it correct way. To reorient your table the right way, enter these commands in the command window:
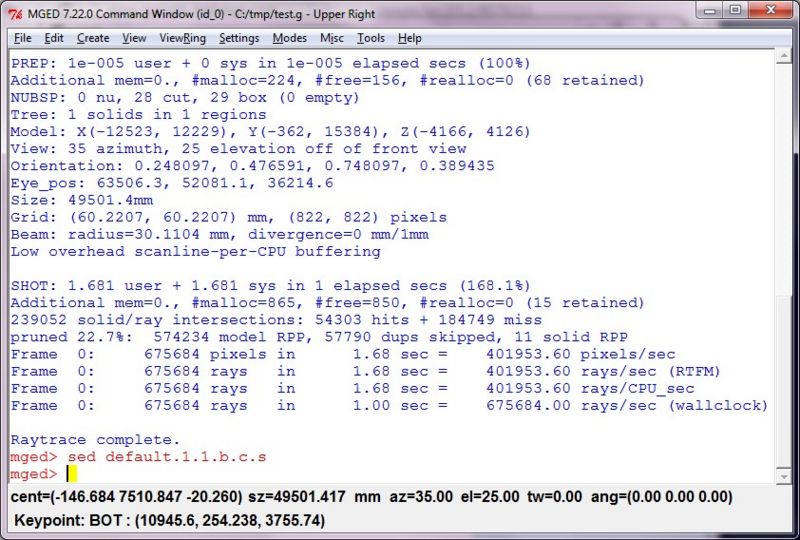
sed default.1.1.b.c.s
rot –90 0 0
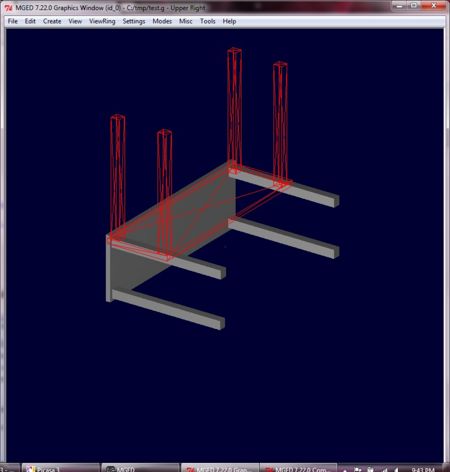
accept
Then Raytrace the table once again by going to the Tools menu.
With that final rendering your import is complete!
